

fast ricky love
In the Zone/Backstage Pass
- Joined
- Mar 27, 2002
- Messages
- 3,458
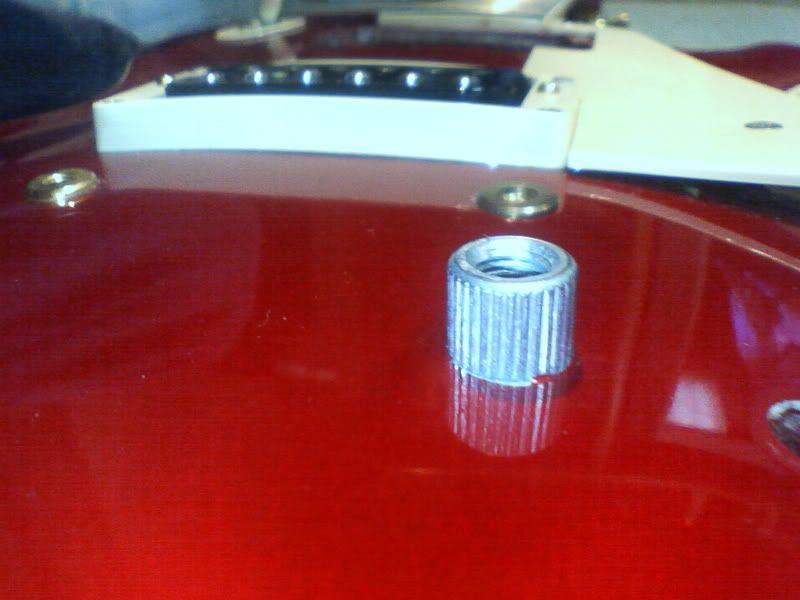
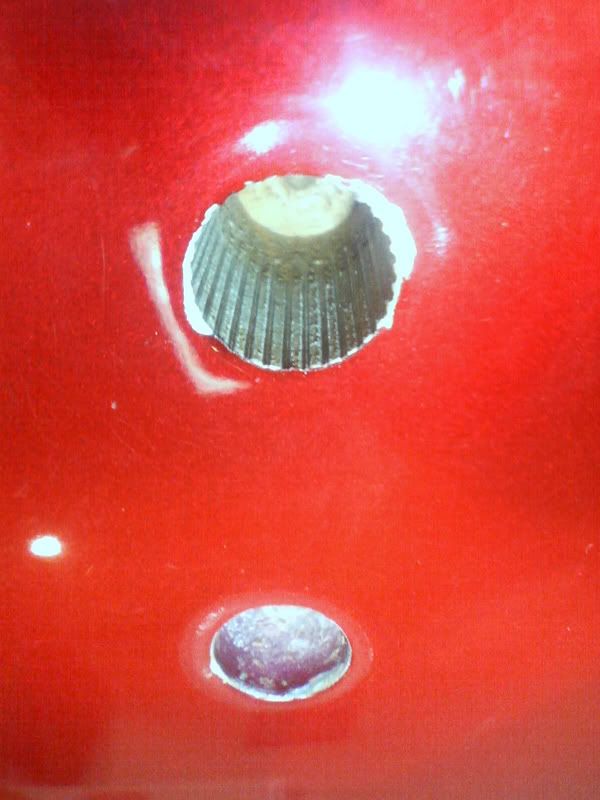
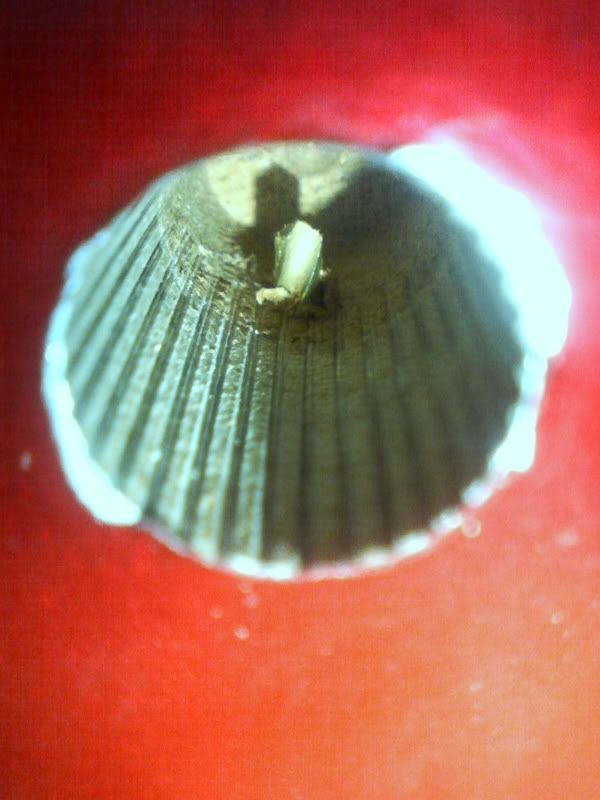
I just picked up a naked Heritage 80 Les Paul (no parts/electronics).
These guitars don't have the small wire that enters the control cavity from the tailpiece that attaches to the neck volume pot (as it does on Historics).
Is that going to be a problem? If so, how do I ground the guitar?
Thanks!!
These guitars don't have the small wire that enters the control cavity from the tailpiece that attaches to the neck volume pot (as it does on Historics).
Is that going to be a problem? If so, how do I ground the guitar?
Thanks!!
")